Tacoma Console instructions 2016-2020
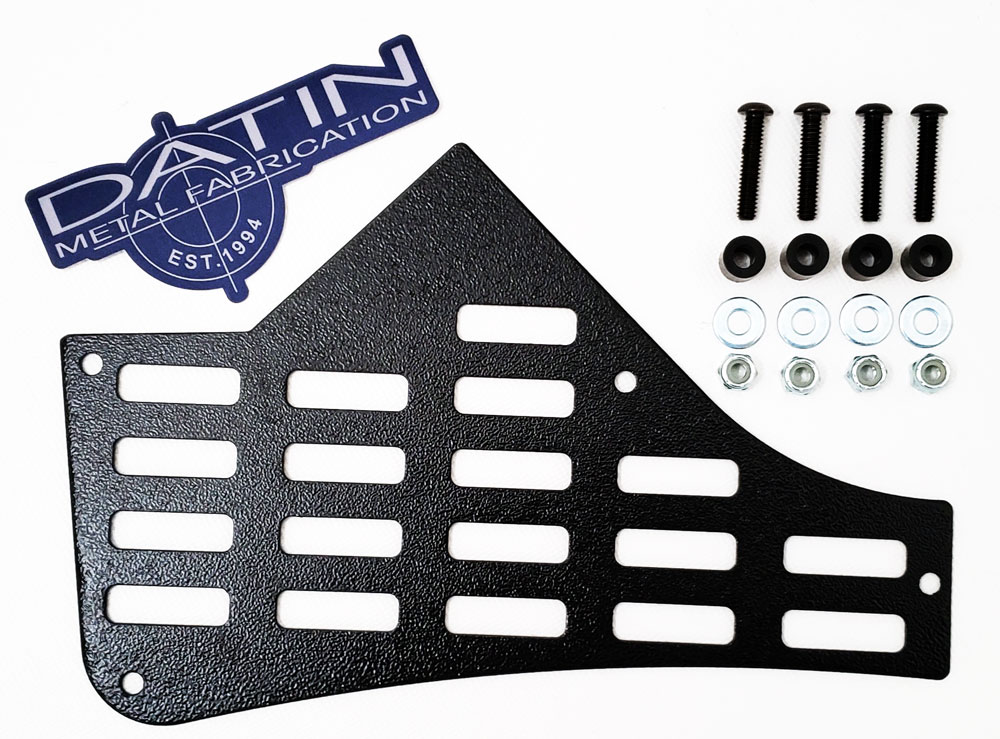
First thing is make sure you have all the parts
For each panel you should have
-
4 Button head allen bolts
-
4 Nylock nuts
-
4 Washers
-
4 Spacers
Tools needed
-
Drill motor
-
¼" drill bit or step drill
-
Sharpie pen, silver pencil
-
5/32 Allen wrench
-
7/16 open end or box end wrench
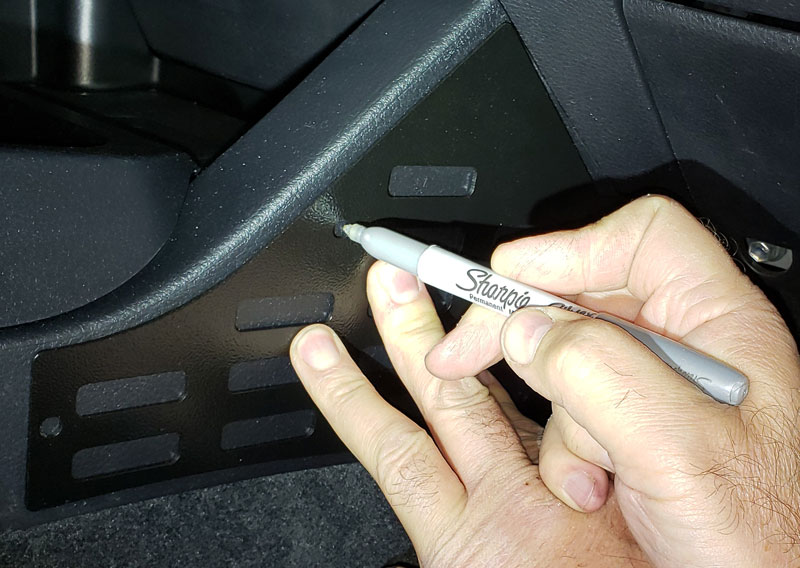
Mark the console with the Molle panel as your template
You can adjust them around a little, but they are a pretty close fit so just check twice before you drill the holes, the console is slightly different on each side.
If you plan on attaching these without removing the console, you may have a hard time with the top middle bolt, small hands work better for this.
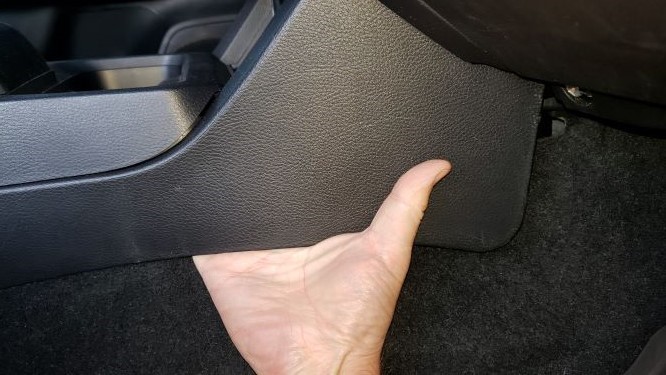
If you plan on removing the console to attach the hardware, here is what you need to do.
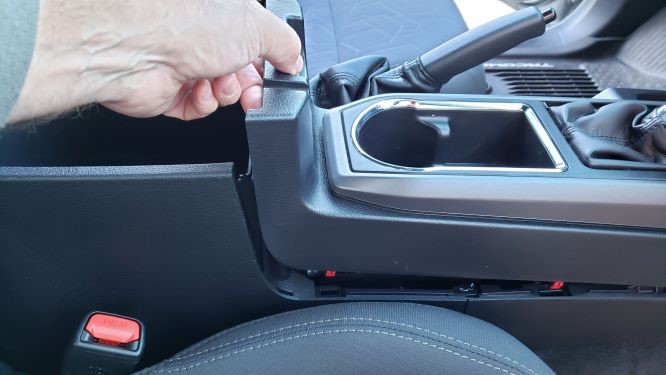
In the center of the console, reach down and pull up the sides
Push down on the chrome collar on the shifter, 6 speed manual will unscrew the shift knob
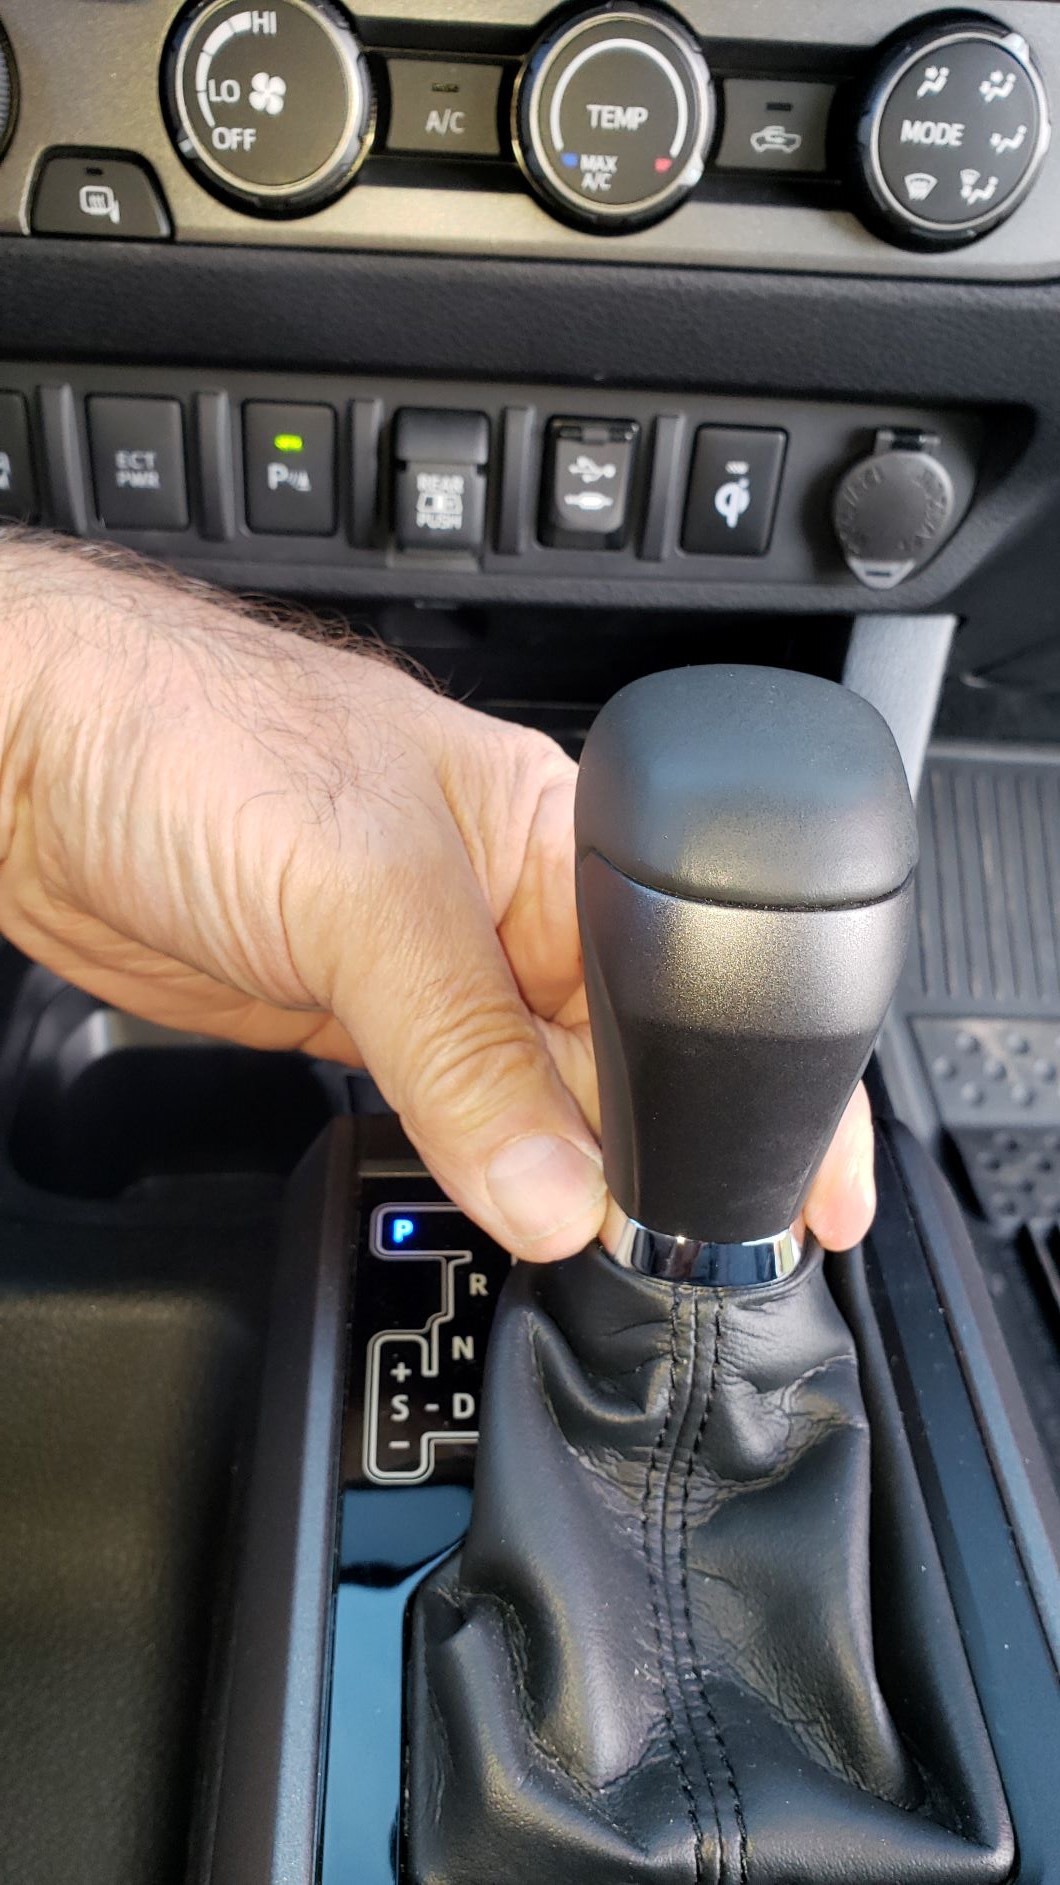
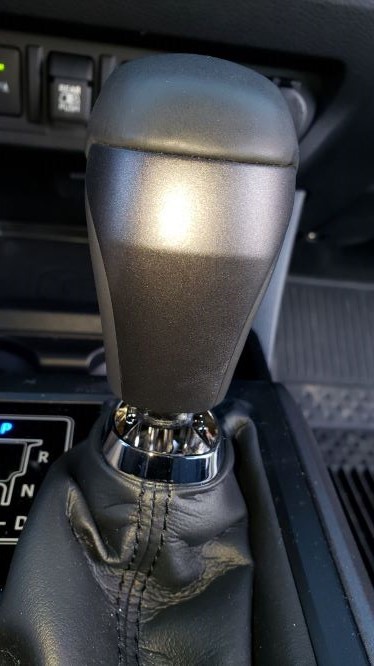
Once it is pushed down turn it counter clock wise and remove it
Next, reach down and pull up on the front
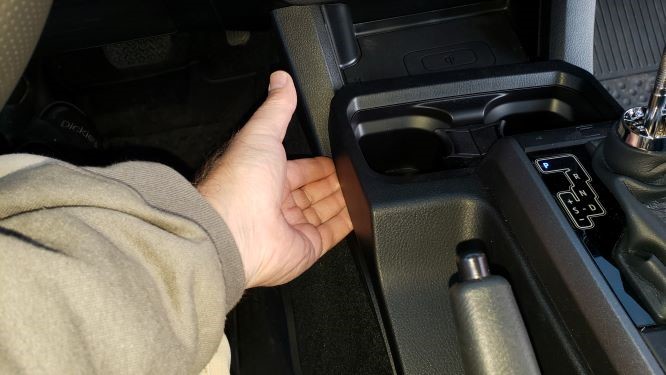
Now it should pull up, but go slow you have to remove a wire connector
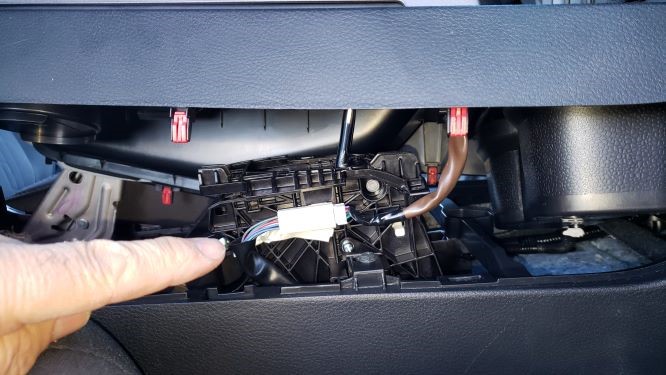
Unplug wire connector
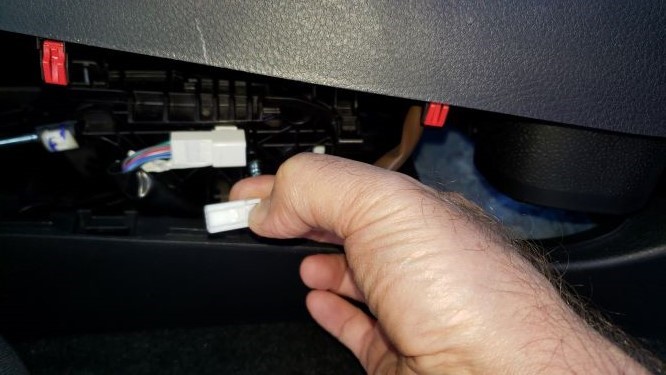
Now you can pick it up, and rotate it out of the way, the E brake cover will prevent you from removing it without a small fight. I did not bother with removing it, it moves out of the way far enough
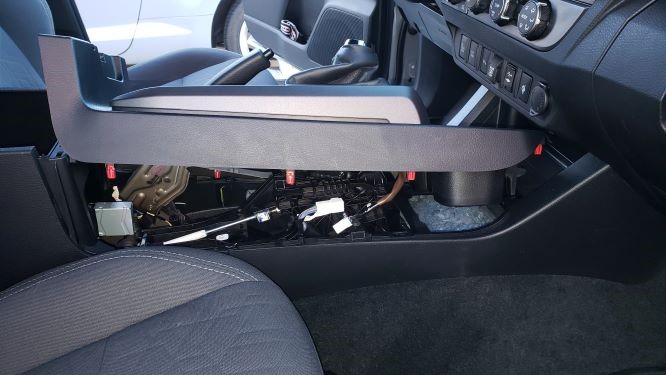
Pick it up and rotate it out of the way
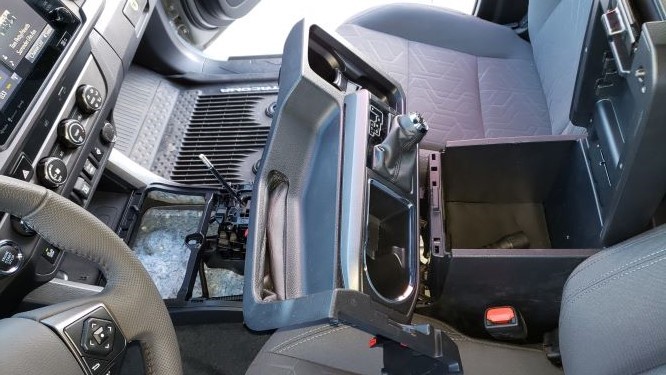
Now you can get to the nuts to tighten up the new Molle panels, go easy tightening them down, washer goes on the inside against the console
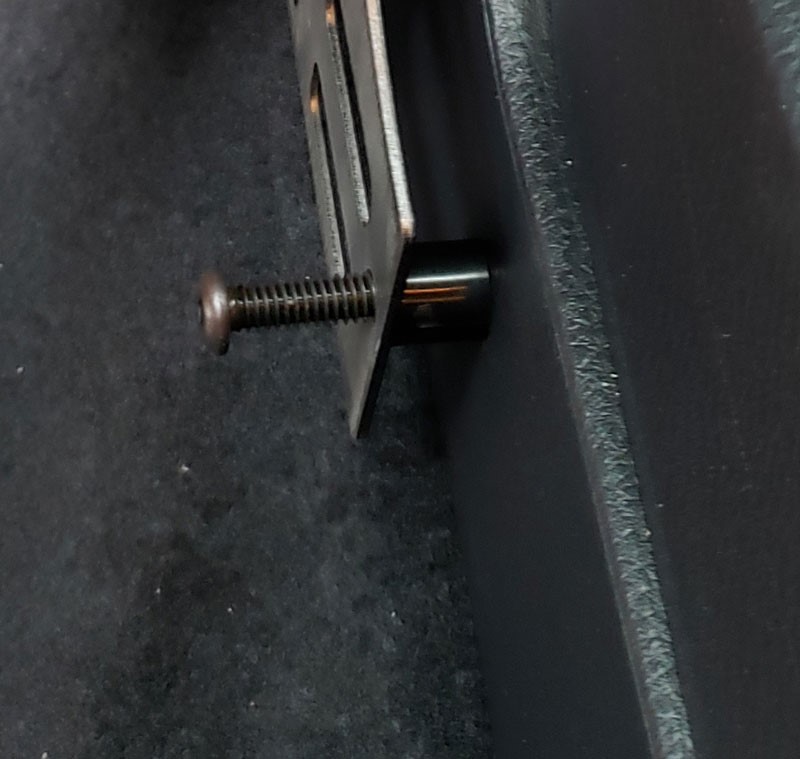
This is how the hardware goes
-
Allen bolt
-
Molle panel
-
Spacer
-
Tacoma console
-
Flat washer
-
Nylock nut
